How to repair clothes with Japanese sashiko mending
If you’ve ever read this journal, you will know how much we love the concept of sashiko, the Japanese embroidery technique of visible mending. Beautiful, crafty and sustainable, it is a perfect example of everything we believe in here at OurHands.
With the rise of ‘reduce, reuse, recycle” and the visible mending trend, sashiko has made its way into our homes and onto designer collections for its delicate beauty.
In this post, we will go over the material and basic technique used to repair clothes with sashiko.
The sashiko philosophy
The history of sashiko started in 17th century Japan out of sheer necessity. Back then, poor farming communities had to repair and strengthen their clothes to make them last. Clothing was passed down from generation to generation. The intricate stitched patterns told the story of their family. Though the aim of sashiko was practical, the Japanese came to appreciate the artistry of its geometrical patterns.
Nowadays, sashiko is linked to the Japanese philosophy of ‘wabi-sabi’, finding beauty in the passage of time. You’ve probably heard of kintsugi, another wabi-sabi staple that uses gold to repair broken objects. In both cases, rather than throwing away an imperfect item, its flaws are highlighted and appreciated as part of its unique history.
By using sashiko stitching, you will be creating something that is unique to you and is stronger for it. It is a beautiful tale of resilience with every stitch. It is also completely customisable! With thousands of possible embroidery patterns and projects, you can make the sashiko philosophy part of your life. An item embroidered with the sashiko stitch could be the perfect gift for a friend going through hard times.

You will need
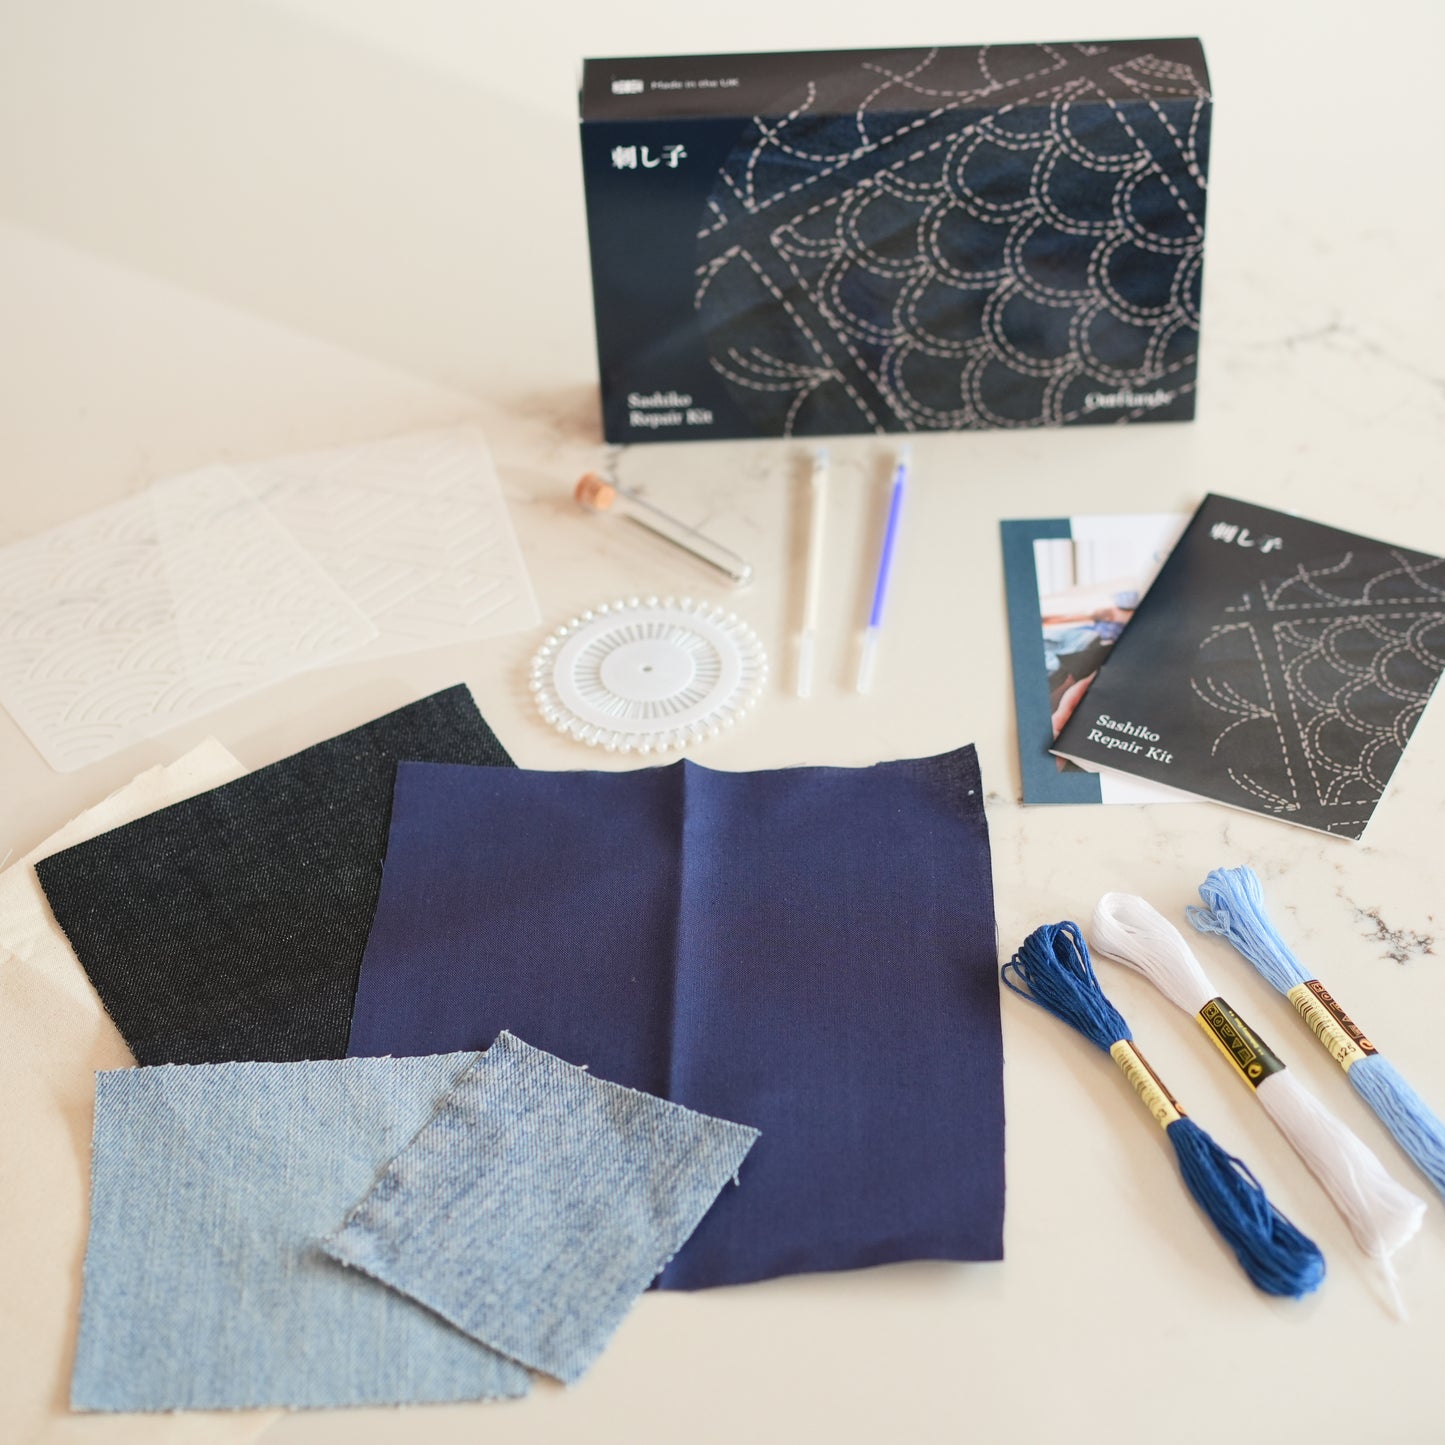
If you’re interested in sashiko, our Sashiko Repair Kit contains everything you need to get started, including detailed illustrated instructions.
- Sashiko needles. Sashiko needles are quite a bit longer than regular sewing needles. This allows for more space for the running stitch that is at the heart of the technique. The large eye makes it easier to thread the sashiko thread.
- Sashiko thread. Most types of thread will do. We like using embroidery floss that can be separated into strands to make thinner or thicker stitches depending on the project at hand. Traditional sashiko thread cannot be divided, it is made up of a single strand.
- Chalk or a tailor’s pencil. Sashiko embroidery patterns can be very geometrical and complex. It’s helpful to have a visual guide you can refer to as you’re sewing.
- Something to repair. Anything will do! Whether it’s jeans that are ripped at the knee or a shirt with moth holes, sashiko will make it beautiful and unique.
- Scraps of fabric. These will be used as patches to fix the hole in your clothes. They can be of a similar or completely different colour and pattern.
- Sewing Pins. They will keep the patch in place over the hole so you can make sure your sashiko pattern is nice and straight.
- A pair of scissors. Any scissors will do! They will help you cut the thread and clean up the fabric.

Repair clothes with sashiko
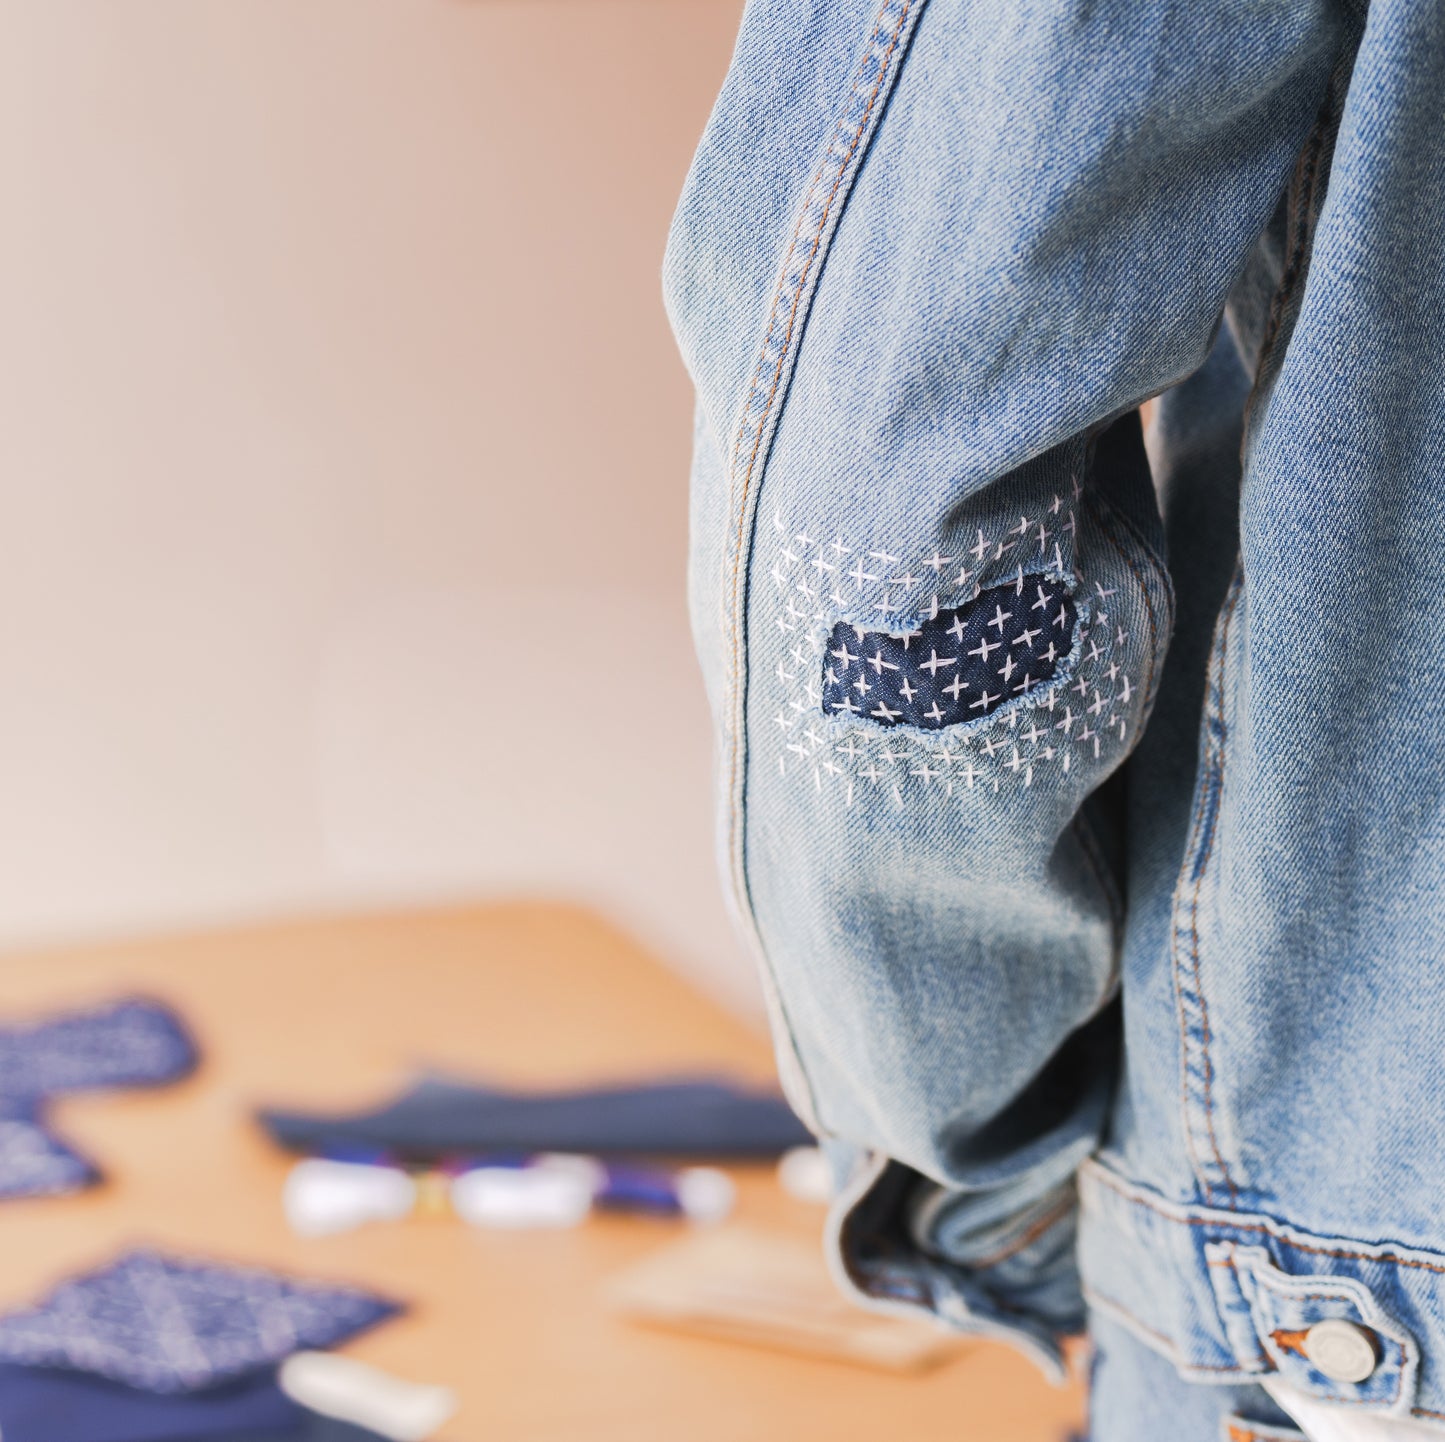
- Start by cutting the edges of the tear with your scissors so they’re nice and sharp. A clean tear will make it easier to sew while you're working. The edges will start fraying again as you wear the piece of clothing, adding some texture to the fabric.
- Select a piece of scrap fabric to make a patch. To make it easier to keep in place, it should be bigger than the tear. About two centimetres on each side should give you enough seam allowance to work.
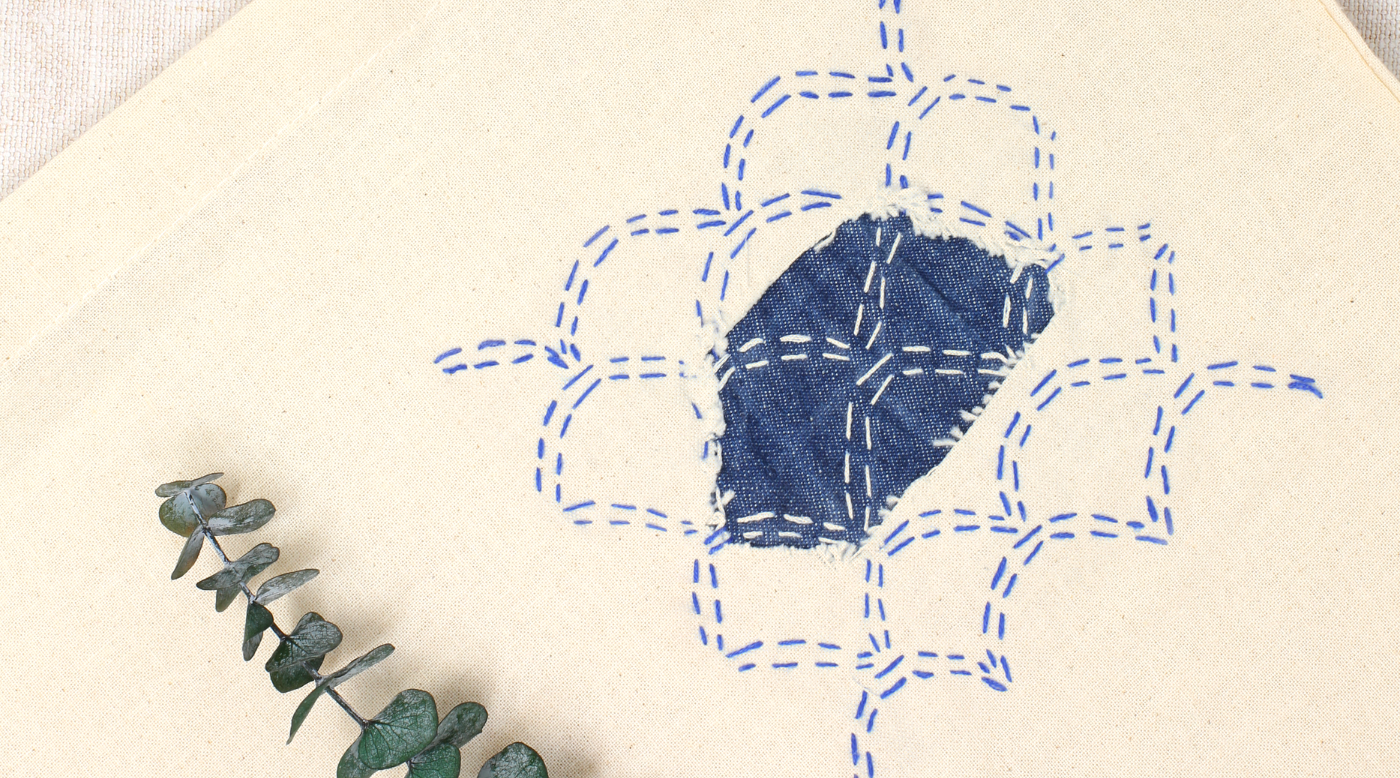
- The patch can be placed on the inside of the tear to highlight the shape of the hole, or it can be placed on the outside to cover up the hole and showcase the patch itself. It’s up to you to decide!
- Pick a colour and thickness of thread and thread your needle. Knot the end of the thread.
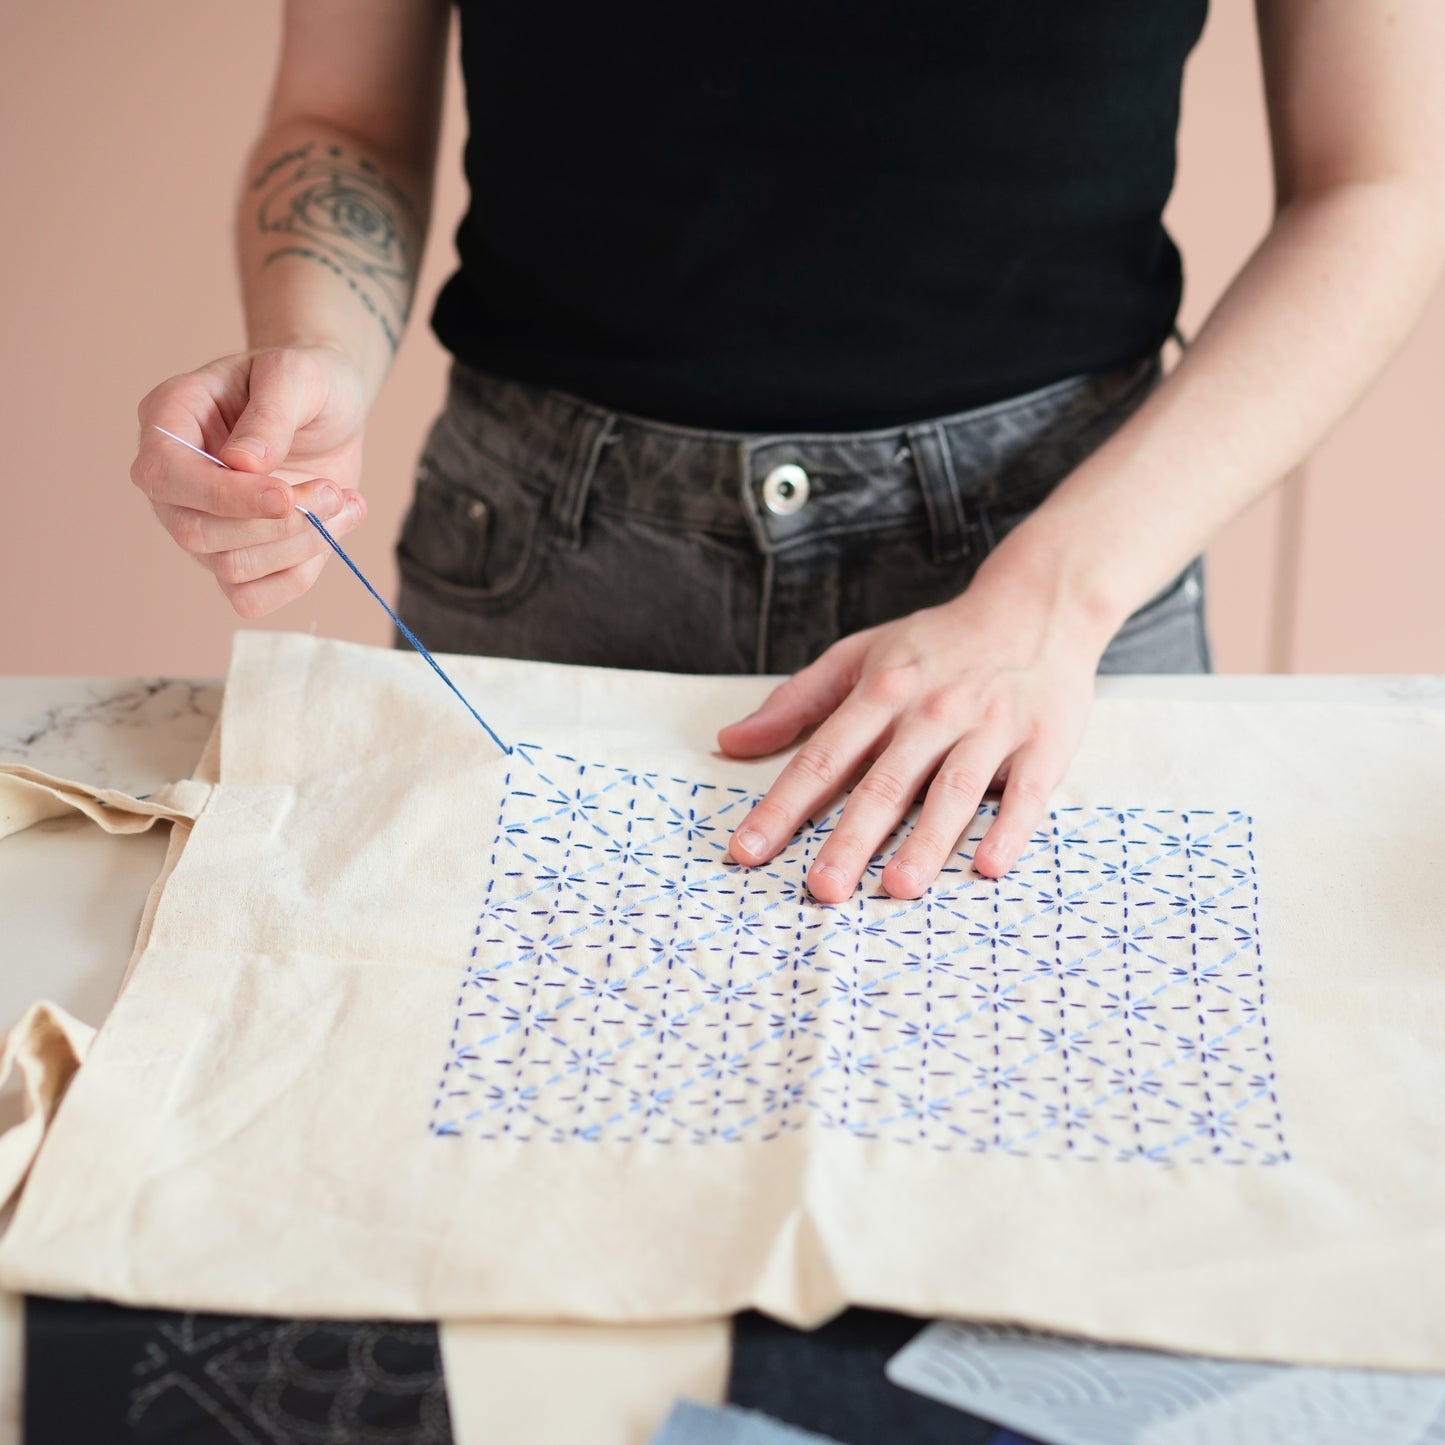
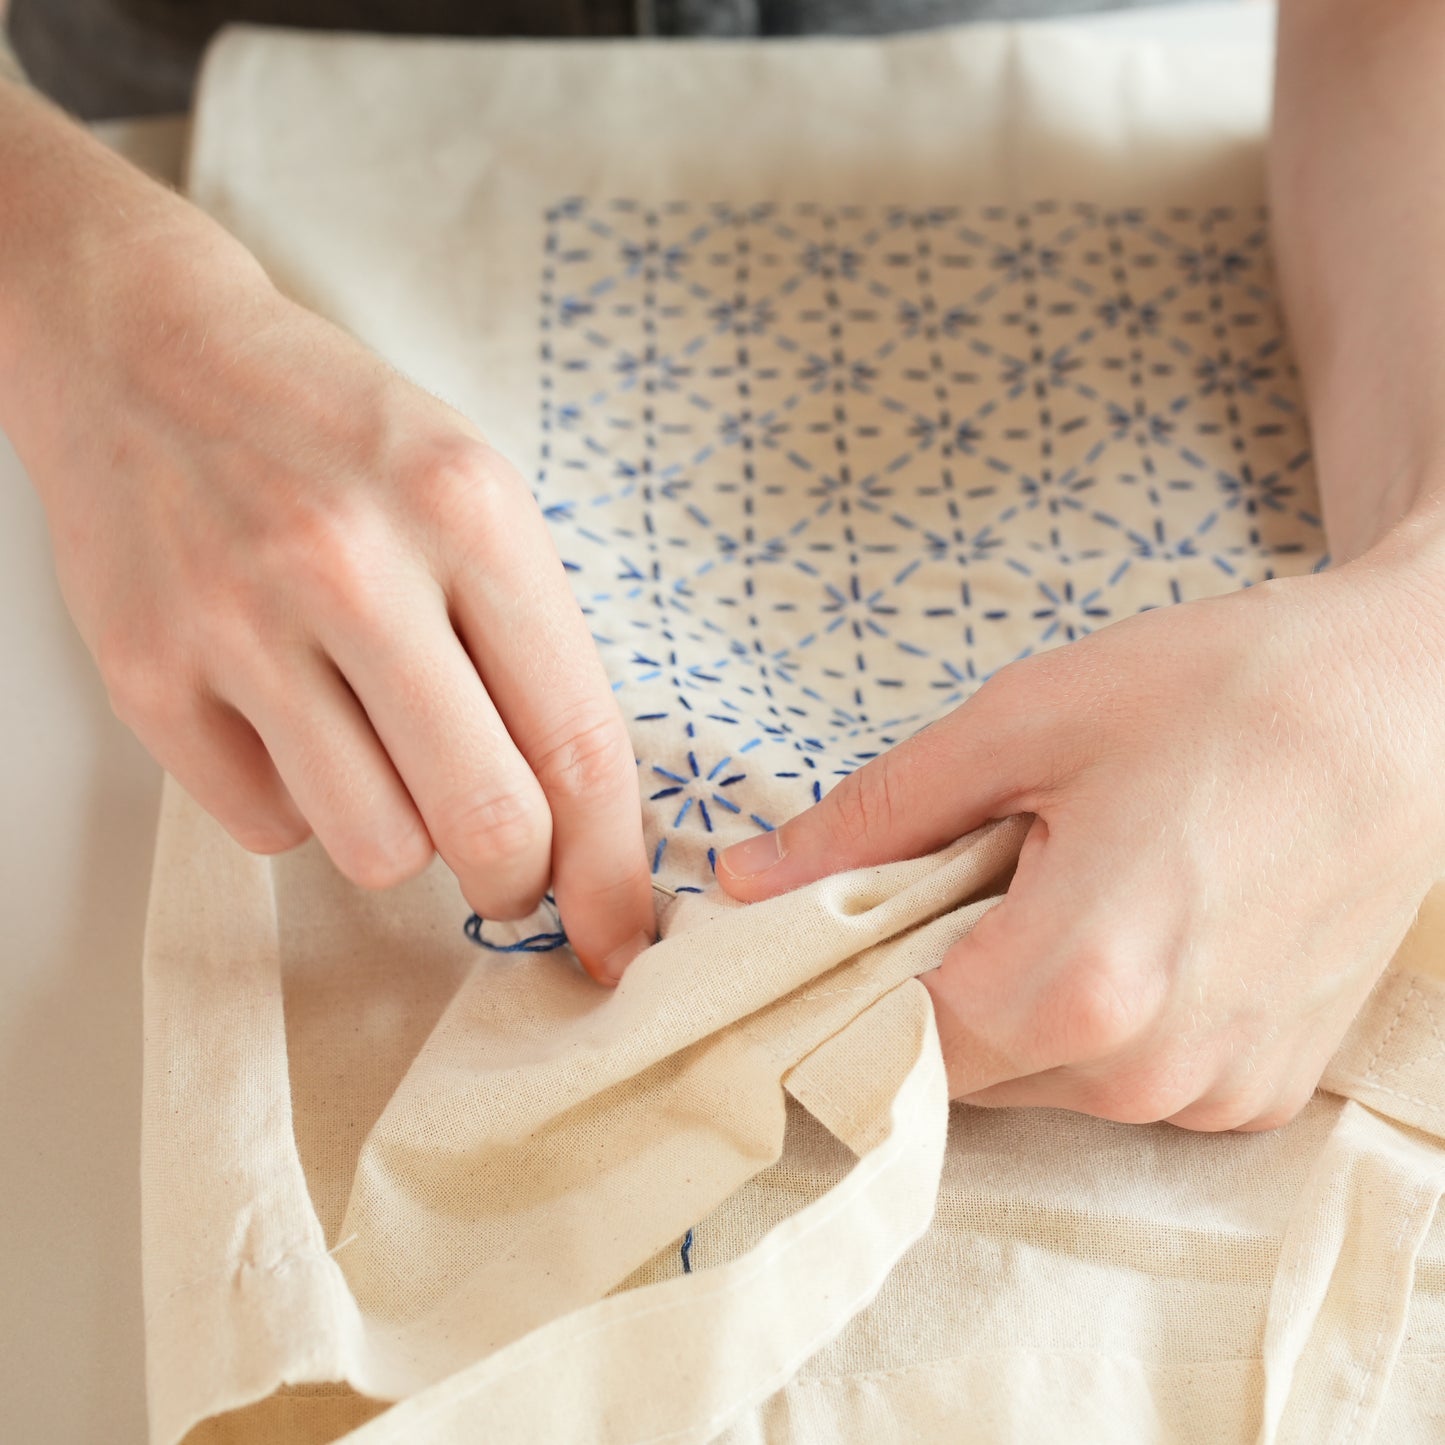
- This is where the sashiko technique comes into play. Sashiko stitching consists of a single running stitch. Start on the underside of the tear so the knot will be hidden inside. As you sew, load as many stitches as you can onto the needle in a single line. Traditionally, the stitches are the same length as the gaps, but we can play around with that too. Make sure all the stitches are the same length, it will look better!
- Once you can no longer fit any more stitches on the needle, gently pull the needle through the fabric. Make sure not to pull the thread too tight so the fabric does not pucker. Remember that sashiko does not use an embroidery hoop. It is up to you to keep the fabric and the stitches looking good!
- Always make sure to end a line on the underside of the patch so you can hide the loop to start the next line. Sew your patch in line by line and finish with a knot, again on the underside of the patch.
- You’re all done!

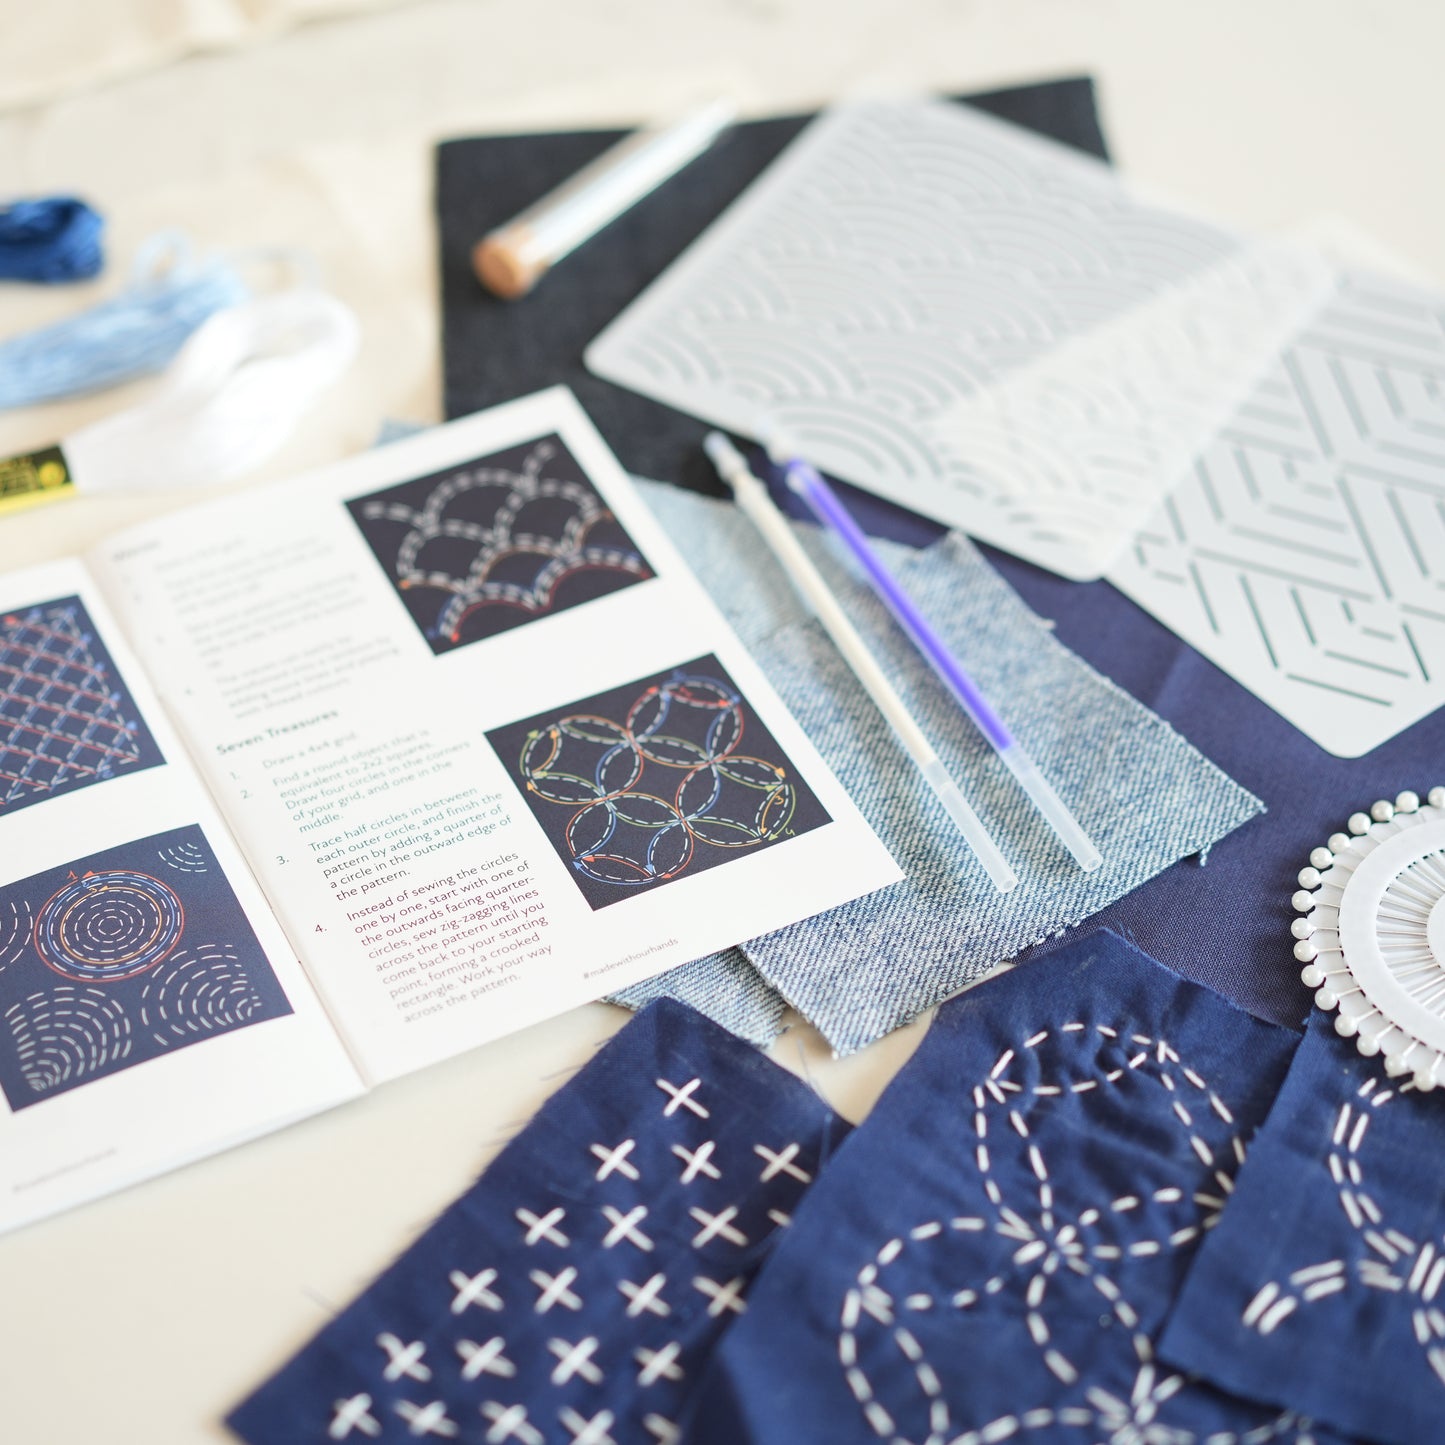
What’s next?
These parallel embroidered lines are the simplest and most approachable sashiko sewing pattern. If you enjoyed this first sashiko project and want to learn more, our Sashiko Repair Kit goes more in-depth into the technique. We’ve also compiled the most popular traditional sashiko patterns with detailed instructions and illustrations.
We hope you found this guide useful! Sashiko stitching is a wonderful hobby that you can use for both practical and aesthetic purposes. From personalised tote bags to repaired jeans and homemade coasters, it is an endless source of fun. Not to mention your sashiko handmade goods will make wonderful sustainable stocking fillers!
We cannot wait to see your creations, so please tag your finished results on Instagram with #madewithourhands!